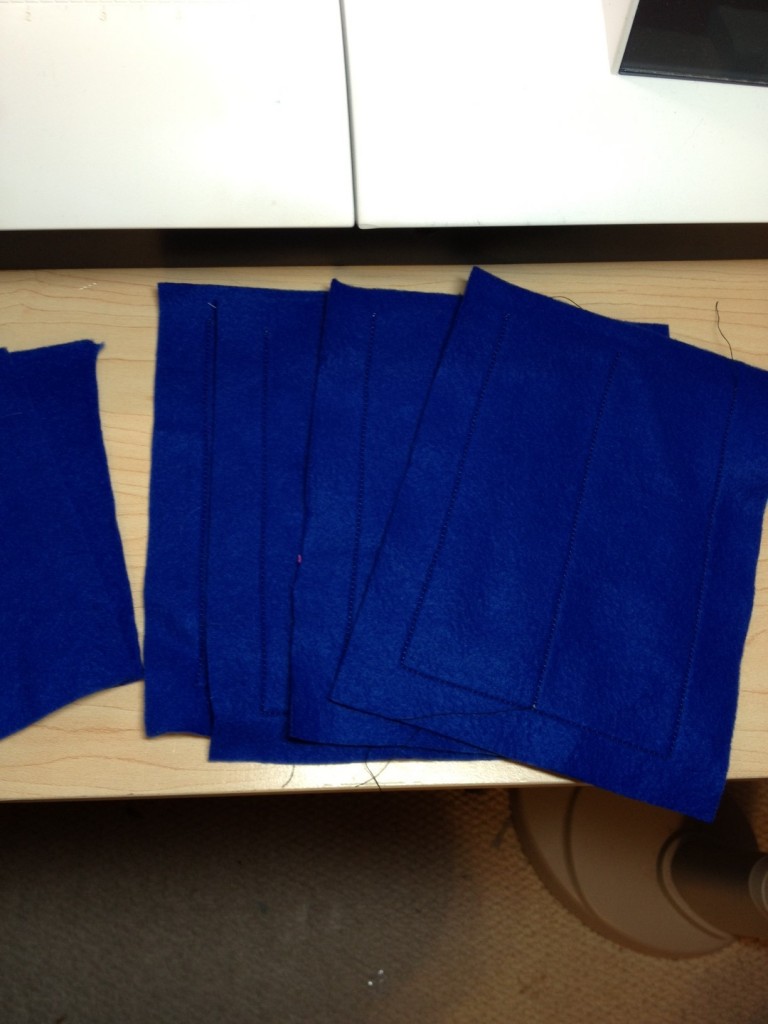
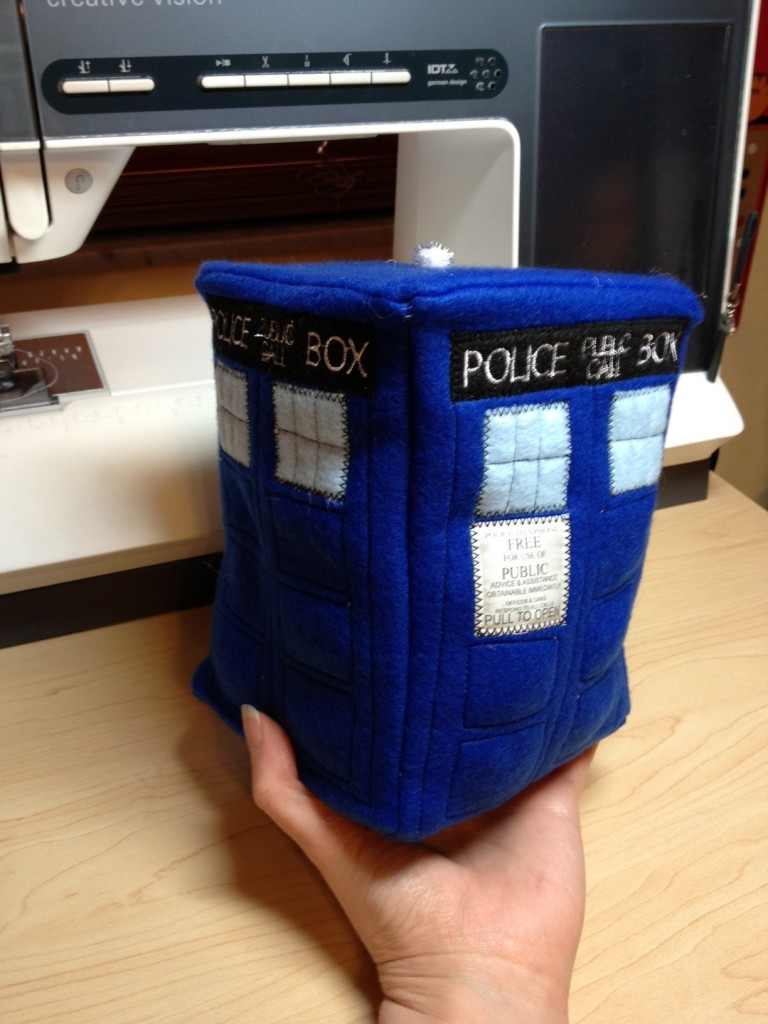
 Often people wonder how I make what I do, so welcome to “The Making of a Tardis!” First I start with the wonderful Tardis blue fabric and cut 6 panels for each Tardis. The Tardis is basically a box, so hence it needs six sides.Once they are cut I first stitch the side door panels with straight lines to define the door frames.
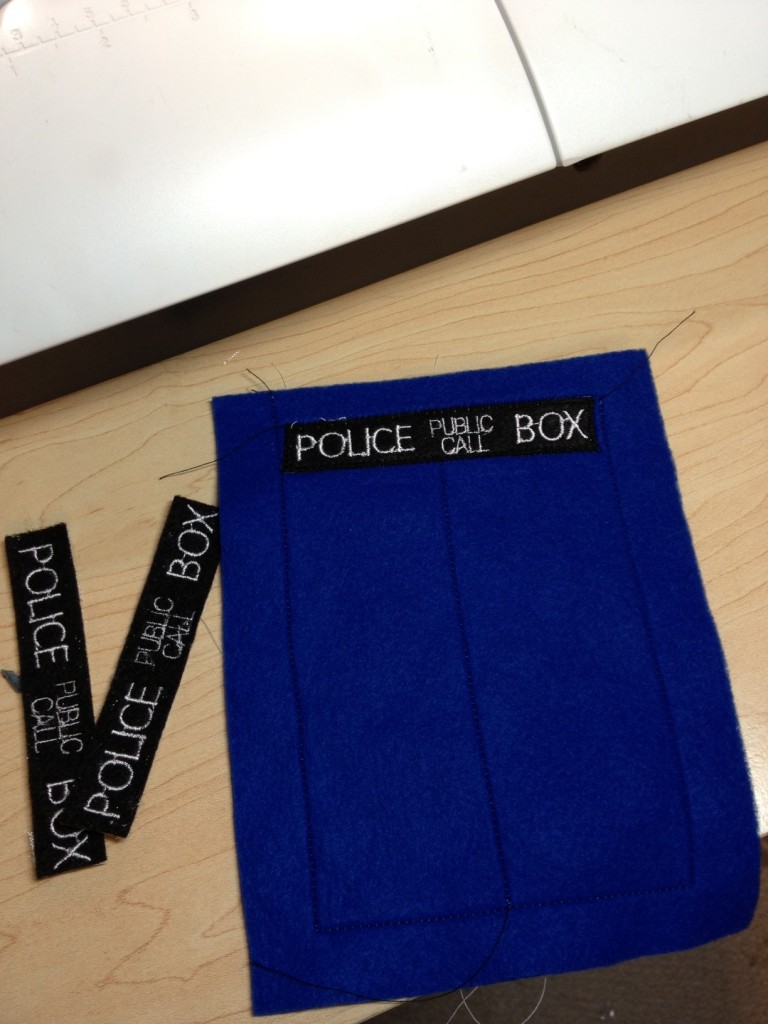
Well, wait. I’m out order. While I am cutting the panels, I actually have my embroidery machine working. I created the Police Box top panel in my embroidery software and then set my machine to stitch out 10 pieces at a time. 10 may sound like a lot but it only makes two and half. Remember the four sides of a box? Each side needs the police sign on top.
Ok, so once the door frames are stitched, I cut out and clean up all the embroidery pieces. I then stitch them to the top of the door frame.
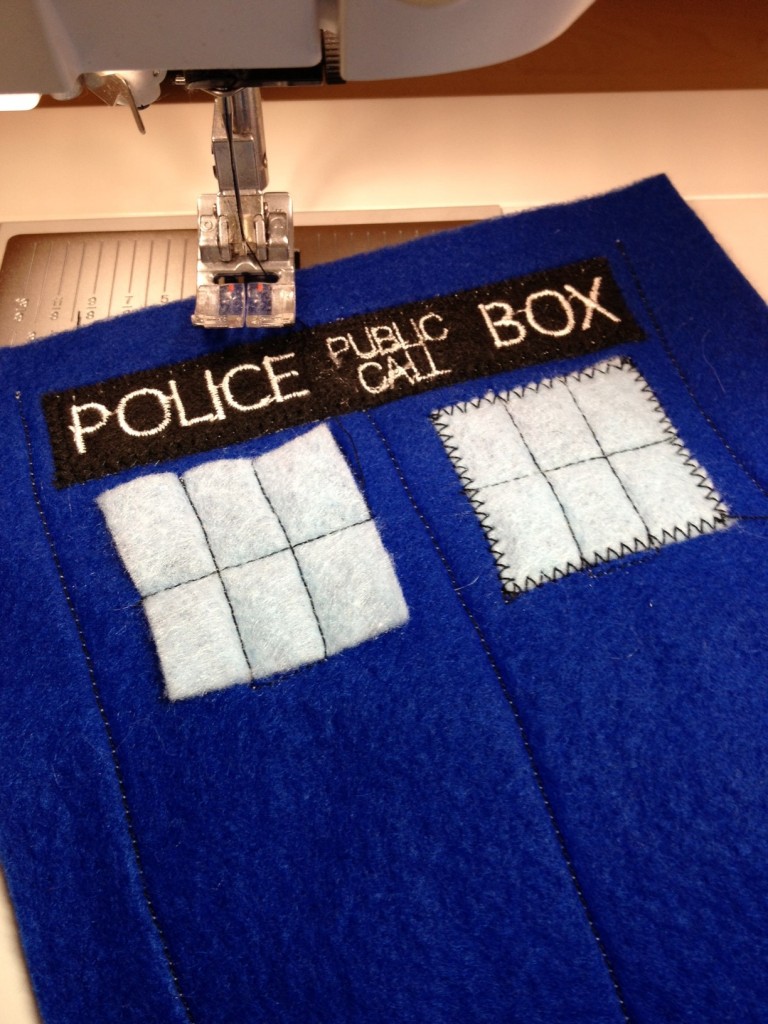
Once the top panels are stitched on, its time for the windows. I usually cut these out when I’m cutting the panels. Each door needs two windows, so that’s eight tiny squares per Tardis. They are about 1 1/2″. First I do a straight line across and up down for the panes. Then zig zag stitch around them to keep the windows on.
After the windows, it’s time for the Free Call Sign. This I have already made as well. I made the design in Photoshop, after finding a picture of the Tardis online to read the text. I then print the design onto special fabric that goes through my printer. This fabric has to dry for ten minutes and then gets set with an iron so the ink will not bleed. Ok, time to stitch them on! Luckily there is only one per Tardis, as that fabric is expensive.
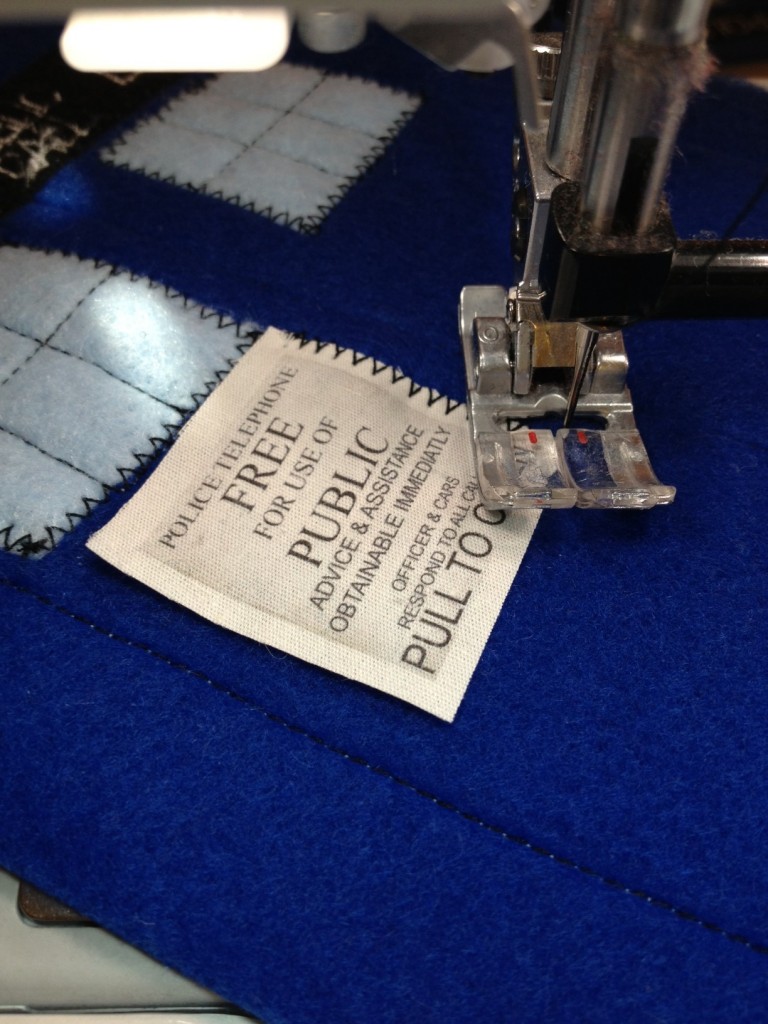
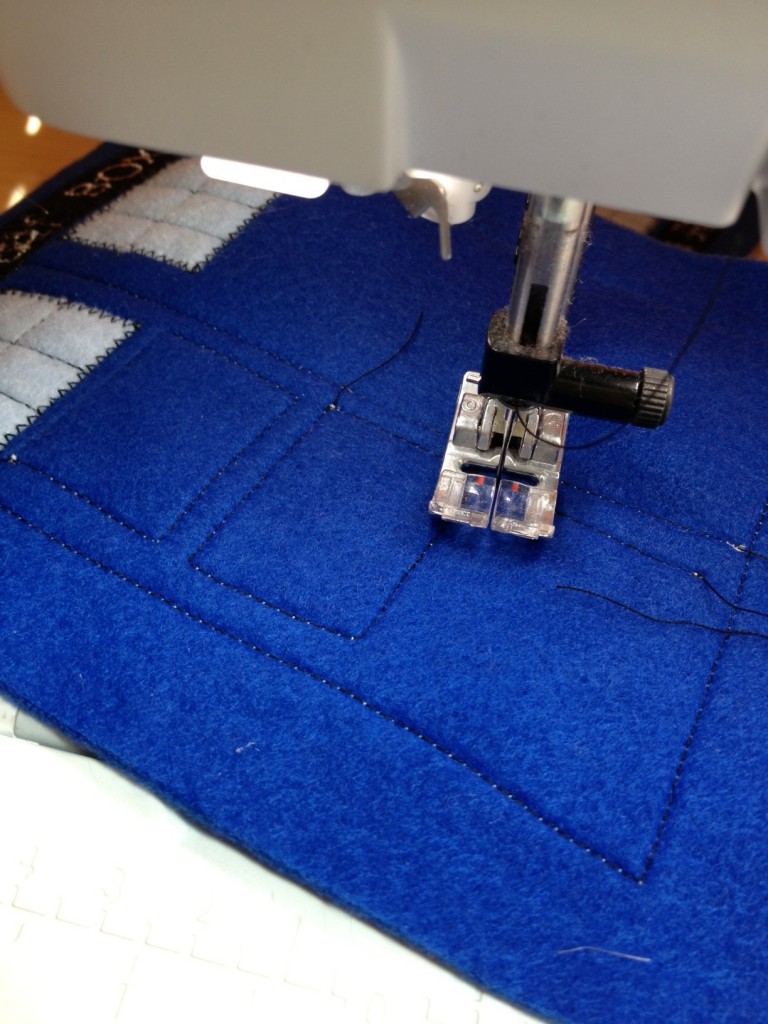
Ok. Once the windows and Call sign are done, its time for the rest of the doors.I have to do it by eye, but I stitch on the rest of the door panels. Those Tardis doors are not flat you know!
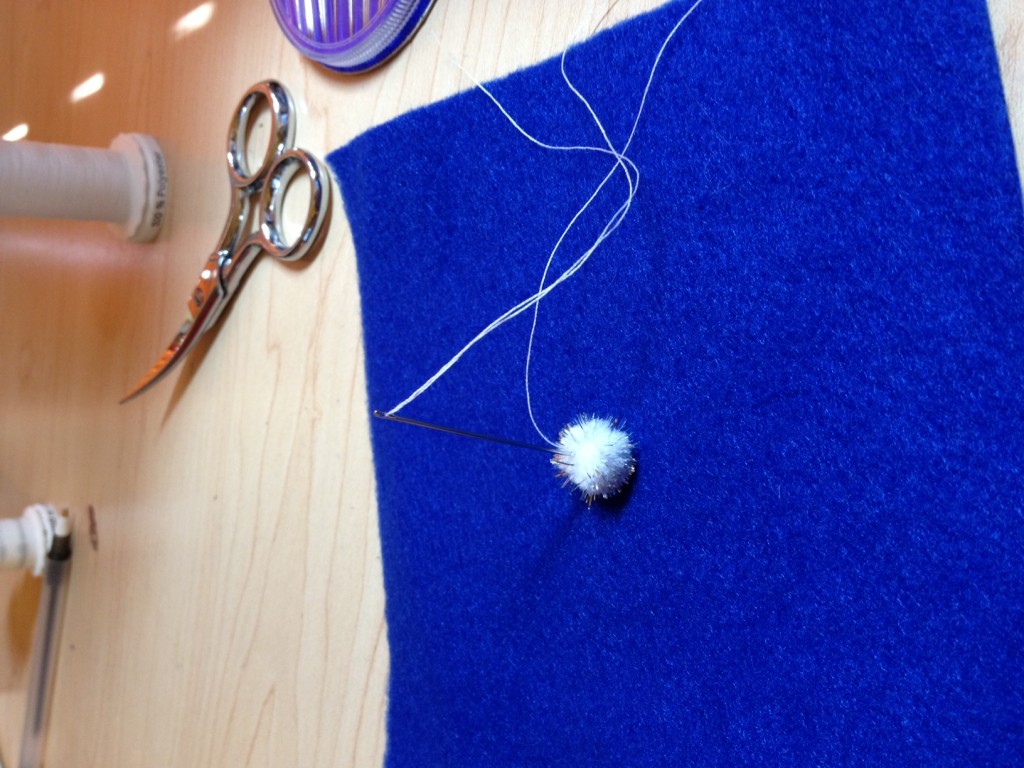
Now for a little handwork. Each Tardis needs a light bulb on top. I use sparkly mini pom poms.
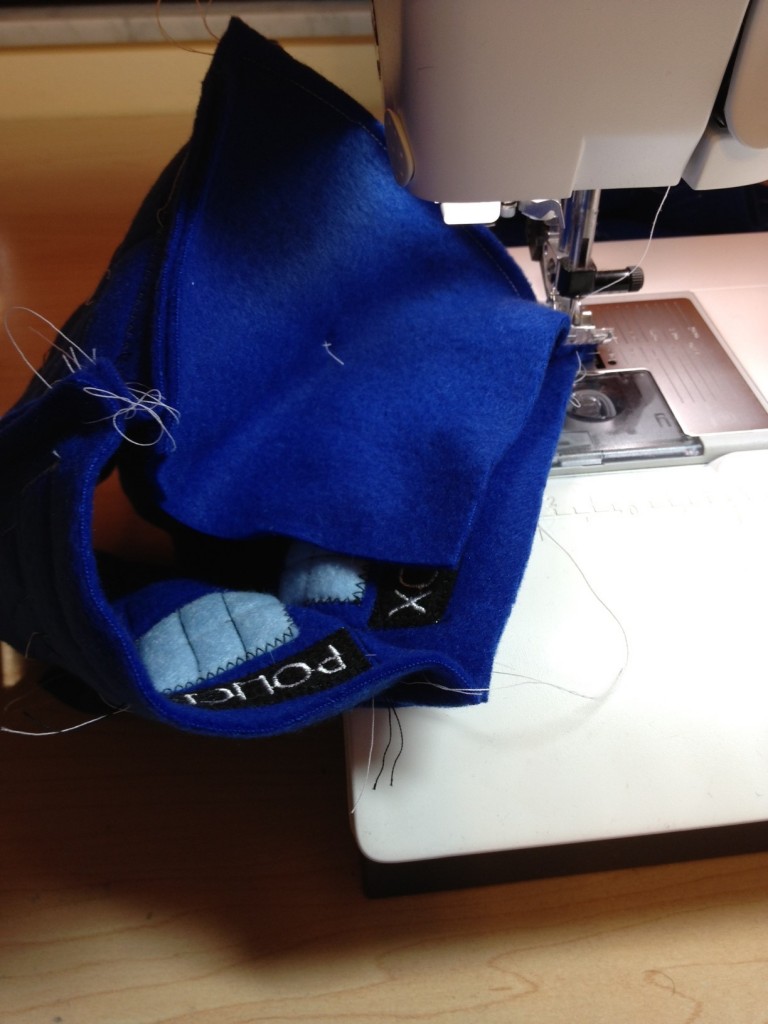
Ok, the most time consuming parts are over. Smooth sailing from here! I first sew together the four walls, inside out of course to hide the seams.
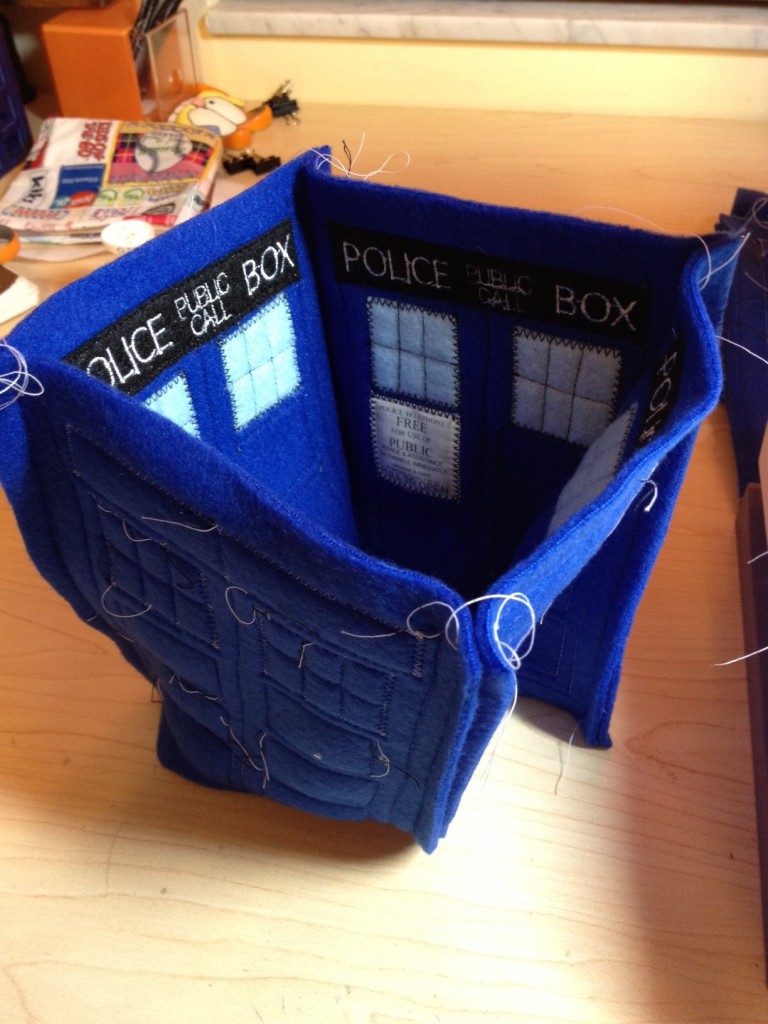
Then I sew on the top and the bottom pieces. The top gets completely sewn down. The bottom I leave one side open so I can flip inside out.
Now the Tardis is about 7″ tall so it needs some stability. I cut cardboard bases and tops from cereal boxes to sturdy it up. I place one cardboard piece on the top and stuff stuff stuff. Then I place the bottom piece and hand sew the opening closed.
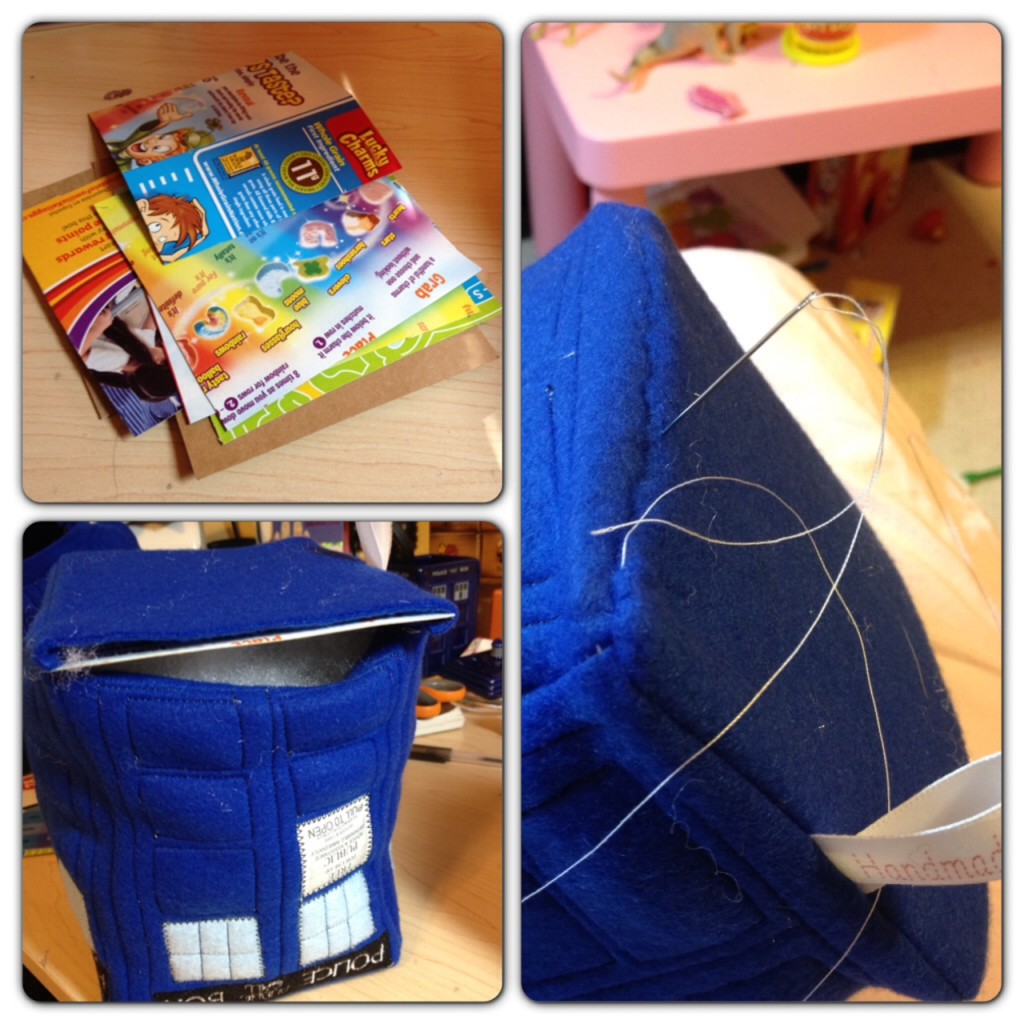 The whole process takes about an 1 hour and 30 minutes to create a single Tardis. Now whenever I make my plush for shows, I never make one thing at a time. In this instance I was working on four Tardis’. (es?) Anyway, working on multiples I would complete one whole step for all of them before moving on. I would say for these four I worked on them a good 6 hours from start to finish. After really studying the amount of time these take and the work they are, I do still love them. But I just might have to raise their price. I know the Tardis doesn’t look that big. But now you know, it is bigger on the inside. 😉

